Friday, July 10, 2015

To Avoid Recording Issues Install Apache JMeter Certificate

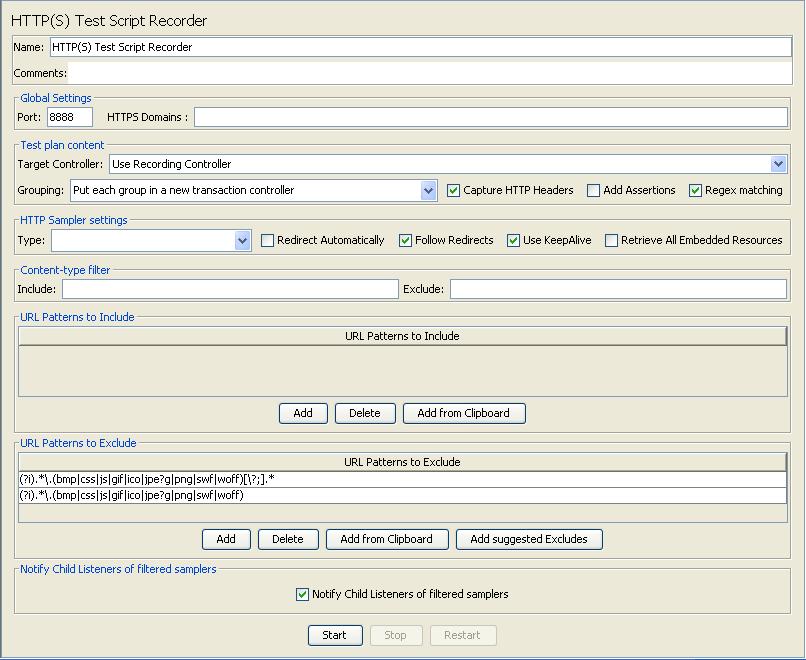
Some time JMeter not working properly while recording HTTPS sites for that we need to install ApacheJMeterTemporaryRootCA certificate in browser. This certificate is available under apache-jmeter-2.13\bin folder.

Here we learn how to install this certificate in Firefox

Step 1 :

Open Firefox browser and click on option from Menubar.


Step 2 :

Select Certificates Option from Advanced setting option and click View Certificates button.


Step 3 :

 Now go to the Authorities tab from Certificate Manager modal and click on Import button.


Step 4 :

 Now Select ApacheJMeterTemporaryRootCA from opened file browser window.


Step 5 :

 A new Downloading Certificate modal will be opened and select all option from it and click ok.


Note :
For Installing Certificate on Internet Explorer or Chrome we need to follow the below steps :

  • Double click the certificate created
  • Certificate Import or Install Certificate Wizard opens

  • Click Next or Install Certificate
  • Select Second radio button (Place All Certificates in the following store) 
  • Click Browse and select 'Trusted Root Certificates Authorities'. Click Next

  • Click Finish
We can verify our certificate installation in Chrome Settings (under Http/SSL) - Manage certificates.. (Trusted Root Certificates Authorities Tab)

Thursday, July 9, 2015

Recording Load Test Script With JMeter

We have little bit knowledge on different components of JMeter and we know how to create a script. But in real world it is very hard to create a load test script in such a manner, because there is lots of steps and lots of different type of user activity. So it is good if we generate script as per user activity.

Here JMeter provide us this functionality where we record our script as per user action. JMeter comes with recording template for this facility. Though we can create JMeter script without this template, we need to add  HTTP(s) Test Script Recorder (Add ->Non-Test Elements-> HTTP(s) Test Script Recorder) under WorkBeanch and also need to add Recording Controller(Add -> Logic Controller -> Recording Controller) under Thread  Group.  Here we deals with JMeter Template .

Step 1 :

 Open JMeter GUI .

Step 2 :

 Choose Template option from File -> Templates... 
Step 3 : 

 Select Recording Option from Select Template dropdown option.
Step 4 :

 Click on create button then Template modal option closed and JMeter GUI looks like that.

Step 5 :

 Set a port number for recording our script.


Step 6 :

 Set the same port number in browser. We use Firefox as a browser for recording our script so we set port number from Tools -> Options ->Advanced ->Network

Step 7 :

Default selected option in  Target Controller as Use Recording Controller if we want to store our recorded script under Test Plan -> Thread  then select Test Plan-> Thread Group from Target Controller


Step 8 : 

We can group our recorded script when we record our script. We can do this using different type of Grouping option from Grouping dropdown option. Default option in Grouping is Put each group in a new transaction controller .


Step 9 :

 Select URL pattern to exclude from recording script, we need to add the file type here .

Step 10 :

Now we start to recording the script for load testing.


Step 11 :

 If Apache certificate, which is located in JMeter bin folder is not installed in machine the this pop up will be shown but we can click on OK and proceed further.
Step 12 :

  We open Google page in browser and observe that google page opened into the browser and we can observe that HTTP Sampler added under Test Plan ->Thread Group .

We can now record our script after following the above mentioned script.


Wednesday, March 4, 2015

Simple Example Script With JMeter

Till now we learn how to setup JMeter and little bit exposure on different component.

Now we try to make a simple script using JMeter.

Step 1: Open JMeter in GUI Mode

       Run jmeter.bat or double click on ApacheJMeter.jar


Step 2:Add Thread Group

        Right click on Test Plan then Add->Threads(Users)->Thread Group


        After adding this component we can see some option.We will learn about it later but here we just left it as default.It looks like below:


Step 3: Add HttpRequest From Sampler

         Right click on Thread Group then Add->Sampler->HttpRequest


         After adding this component we can see there is also lots of option available.We will set here only Name or IP: "www.google.com"
Port Number:443
Protocol[http]:https


         After setting all of this option it will looks like below

Step 4: Add Listner

          We need to analyze result after run this script so we need to add listener by which we can get details of this test.We can add this listener under Thread Group or Sampler,if we add this under thread group then it shows the result of all Sampler or if we add under any of the Sampler then it will show only the result of this sampler.Here we add this under Thread Group
     
          Let add this component Right click on Thred Group Add->Listener->View Results Tree
         We choose View Result Tree here as a listener but we can select any other type of listener also.

         So after following above mentioned steps our test plan looks like that
Step 5: Save Test

         Now we save the test for future use.We can save our test using following option Click on File->Save 
then new window will open now we give a name and click save button from it. 


Step 6: Run Test 

          To Run this test we just click on the the green color button on JMeter tool.
 

Step 7: Result Analysis

            After run our test we can observe that our listener component shows the result with the combination of Red and Green color text green text means this request Pass and Red color means fail.We will try to learn later how to analyze this report and finding the cause to fail.


Sunday, January 25, 2015

Introduction To Different Options of Jmeter

Here we try to learn some basic options of JMeter .We are working on JMeter UI so all options are related to JMeter UI.

After launching JMeter, we found it is opened with a  new test. It looks like  below
  There are 2 options:
  1.  Test Plan  
  2. Workbench
1. Test Plan:Test Plan is a place where we can add Threads (User),Config Element, Timer, Listner,Assertion etc and we can save and store into a file.

2. WorkBench: WorkBench is a place where we can prepare and test our script.WorkBench have all elemets those are available in Test Plan.But there is one more option that is Non-Test Element where we can find recording option.One thing should keep in mind that we cannot save workbench with Test Plan on old version of JMeter, but in 2.12 there is one option(Check Box) that is Save WorkBench.We check this  to save the WorkBench alongwith Test Plan.
 We can find all available option after right click on Test Plan or WorkBench

Now we will try to understand the different available option in JMeter.

 Threads(Users): It is simulate the available user(virtual).


 Test Fragment: It is used to group the test step or module.

 Config Element: It is required to configure any request.
 Timer: It is use to add some wait to create the real scenario in the test
Pre Processors: It is required to manipulate the different type of request before send it to the server.

Post Processors: It is required to manipulate the response, mainly required to feed some data to the next request.
Assertions: It is required to verify the response according to the assertion criteria.
 Listener: It is the required to visualize the test result after run the test.
Sampler: We will find this under Thread Group option.It contains all type of request.
  Logic Controller: It is required to set the workflow of our test script.

Wednesday, December 31, 2014

JMeter SetUp

JMeter is a Performance measuring tool for web application. We can create different number of virtual user(Thread) to access the web application and track the performance result of the response on different number of user and after analysis the report we can determine the loop holes, problem, limitation or threshold value of the application .

We can go deep later,In this post we only try to setup JMeter.

Step 1:Install Java

JMeter  basically a Java application so we need to install Java.we can only install JRE(Java Runtime Environment) but to use the full feature of JMeter we need to install JDK(Java development Kit).
We can download it from here  .

JDK comes with JRE so we donot need to download or install JRE separately.

Step 2:Download JMeter

Download JMeter form here .

Step 3:Install JMeter

 After completion of download we extract it.After extraction it looks like below

There is no installation file to install JMeter.So we donot need to install anything.

Step 4:Run JMeter

There is multiple option to run JMeter.

1. Go to bin folder and double click on jmeter.bat(for Windows system)
2. Go to bin folder and double click on ApacheJMeter.jar
3. Open command window and go to the apache bin folder and type the below command with appropriate parameter .
e.g :- 
jmeter -n -t testPlan.jmx - l log.jtl 
                                   or
java -jar  ApacheJMeter.jar  -n -t testPlan.jmx - l log.jtl

Give complete path of ApacheJMeter.jar path if environment variable is not set.

We can get the details list of option for JMeter in cmd mode After typing jmeter -h in cmd

 or  type this command
java -jar ApacheJMeter.jar -h in command window